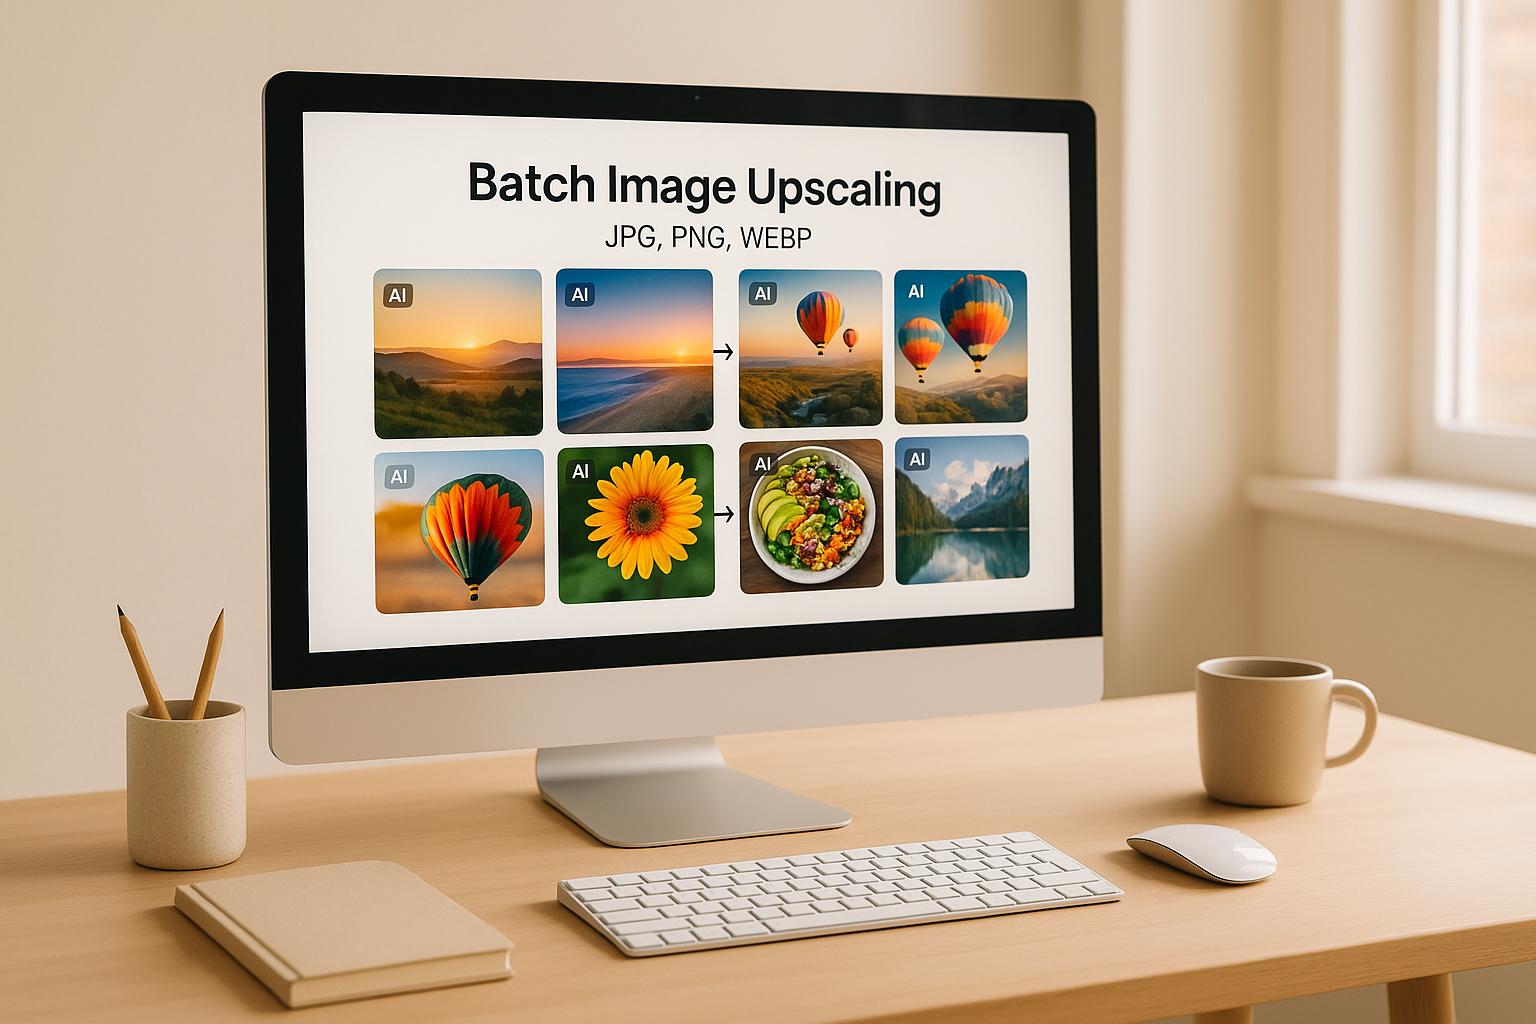
Batch Image Upscaling for JPG, PNG, WEBP
Enhance multiple images quickly with AI-powered batch upscaling, maintaining quality across JPG, PNG, and WEBP formats for various professional needs.
Batch Image Upscaling for JPG, PNG, WEBP
Batch image upscaling allows you to improve the resolution of multiple images simultaneously, saving time and effort. Unlike basic resizing, advanced algorithms reconstruct details for sharper, clearer results. AI-powered tools analyze patterns in images to produce high-quality outputs efficiently, making them ideal for professionals and businesses dealing with large image collections.
Key Points:
- Supported Formats: JPG (photos), PNG (logos, transparency), WEBP (web-friendly).
- Scaling: Increase resolution up to 6x while maintaining quality.
- Use Cases: E-commerce, social media, digital marketing, photography, and web design.
- Preparation Tips: Organize files by format and resolution, and use high-quality originals.
- Output Options: Convert formats (e.g., JPG to WEBP), adjust compression, or preserve transparency.
- Process: Upload, configure settings, and download results.
Batch upscaling is a fast, reliable way to upgrade image quality for various needs, from online stores to social media campaigns.
Bulk AI Image Upscaler Full Tutorial | How to Upscale AI Images In Bulk
Preparing Images for Batch Upscaling
Getting your images ready for batch upscaling is key to achieving smooth, high-quality results. By understanding format requirements, organizing your files, and sticking to quality-focused practices, you can make your workflow much more efficient.
File Format and Resolution Requirements
ImageUpsize supports three main image formats: JPG, PNG, and WEBP. Each has its own strengths, depending on the type of image you're working with.
- JPG: Ideal for photographs and images with lots of colors and gradients. However, avoid over-compressed JPG files since they can show unwanted artifacts. Start with images that have minimal compression for the best results.
- PNG: Perfect for images requiring transparency or sharp edges, like logos or screenshots. PNG files maintain exact details but tend to have larger file sizes, making them great for when quality matters more than file size.
- WEBP: A newer format that balances compression and image quality, making it a popular choice for web use. It provides smaller file sizes without sacrificing much visual quality.
For resolution, aim for input images between 500×500 and 2,000×2,000 pixels. ImageUpsize can scale images up to 6x their original size. For example, a 1,000×1,000 pixel image can be transformed into a detailed 6,000×6,000 pixel version.
Once you've selected the right formats and resolutions, the next step is organizing your files for batch processing.
Organizing Files for Batch Processing
Proper organization saves time and ensures consistent results. Start by grouping images based on their purpose and resolution, and use clear, descriptive filenames to make processing and post-upscale management easier.
- Create separate folders for different categories, like product photos, social media content, website graphics, or print materials. Each category might require different output settings.
- Organize by resolution: group low-res images (under 800 pixels), medium-res (800–1,500 pixels), and high-res (above 1,500 pixels) into their own folders.
Also, clean up your batch by removing duplicates and skipping images that are already at the desired resolution. Upscaling these unnecessarily can sometimes lower their quality.
Once your files are organized, follow these tips to keep your images looking their best during upscaling.
Best Practices for Maintaining Image Quality
To get the best results, always start with the highest quality originals. Avoid using images that have been repeatedly compressed, as this can strip away important details. If you have both a compressed web version and an uncompressed original, always go with the original.
Before upscaling, correct any noise or color issues in the original image. While AI upscaling can handle some noise, extremely grainy images may not upscale well. Similarly, any color inaccuracies - like poor white balance - will carry over to the upscaled version.
For images with text or intricate details, make sure the original text is sharp and readable. Blurry or pixelated text in the source image will remain problematic, though AI tools can often improve readability to some extent.
Finally, always back up your original images. Even though ImageUpsize works on copies and leaves your originals untouched, having a secure backup ensures you can always start over or experiment with different settings later.
Step-by-Step Guide: Batch Upscaling with ImageUpsize

Get started with batch upscaling using ImageUpsize by following these straightforward steps.
Uploading and Selecting Images
First, organize your images, then head over to ImageUpsize.com. Simply drag and drop your files into the upload area. To upload multiple files at once, hold down Ctrl (or Cmd on Mac). If your images are sorted into folders, you can drag the entire folder for convenience.
As you upload, the platform validates each file, showing progress indicators and marking successful uploads with green checkmarks. If a file exceeds the size limit or isn’t in a supported format, you'll get an error message explaining the issue.
Once uploaded, your images will appear as thumbnails, each showing its original dimensions. Here, you can choose your scaling factor, ranging from 2x to 6x the original resolution. For most purposes, 4x scaling strikes a good balance between quality and processing time. You can even select different scaling options for individual images in the same batch.
Setting Output Preferences
Next, configure your output settings to tailor the results to your needs.
You can keep the original file format or convert your images to another supported format during upscaling. For example, you might want to switch older JPG files to the more efficient WEBP format while enhancing their resolution.
For batch tasks, you can apply consistent quality settings across all images. While the platform’s smart defaults work well for most scenarios, you can fine-tune options like compression levels for JPG outputs or choose lossless processing for PNG files if file size isn’t a concern.
Once you’ve finalized your settings, you’re ready to start the upscaling process.
Starting and Monitoring the Batch Process
Click the "Start Upscaling" button to begin processing. ImageUpsize uses AI-powered enhancement algorithms to handle your batch.
You'll see real-time updates as the process moves through stages like "validating", "in_progress", "finalizing", and "completed". Each image progresses at its own pace, depending on factors like resolution and complexity.
A progress counter keeps track of the number of images completed versus the total. Processing times vary based on your image sizes, chosen scaling factors, and current server load.
For large batches, it’s a good idea to check in periodically. While you don’t need to keep the browser tab open, staying on the page ensures you see the latest updates. Once the process is complete, download links for your enhanced images will appear. You can download them individually or use the "Download All" option to get a ZIP file with your entire batch.
Keep in mind that ImageUpsize deletes all uploaded and processed files within one hour for privacy reasons, so make sure to download your images promptly.
sbb-itb-b6ad462
Optimizing Output Quality Across Formats
Different image formats react uniquely to AI upscaling, and understanding these nuances can help you get the best results. Let’s dive into how specific formats like JPG, PNG, and WEBP behave during the process and what you can do to optimize their output.
JPG: Tackling Compression Artifacts
JPG files often come with built-in challenges due to compression artifacts created during their original encoding. When you upscale these images, those artifacts - like blockiness or banding - can become more pronounced, potentially affecting the overall quality.
To manage this, tailor your scaling factor to the quality of the original image. If the source JPG has heavy compression, a smaller scaling factor can help minimize the visibility of artifacts. On the other hand, higher-quality JPGs can handle larger scaling increases. Pay close attention to areas like skin tones and facial details in portraits, as compression-induced color shifts can stand out more after upscaling. For projects requiring precise color accuracy, switching to a lossless format like PNG might be a better choice.
PNG: Preserving Detail and Transparency
PNG files are well-suited for upscaling because they use lossless compression, which ensures the AI algorithm works with unaltered image data. This helps maintain fine details and sharpness during the process.
Another major advantage of PNG is its ability to preserve transparency, making it ideal for graphics with transparent backgrounds. However, keep in mind that PNG files can be significantly larger than other formats, which might require additional storage and bandwidth if you’re working with large batches of high-resolution images.
WEBP: Striking a Balance Between Size and Quality
WEBP offers a practical middle ground by balancing file size and image quality. Its advanced compression techniques allow for cleaner, enlarged images with fewer visible artifacts compared to JPG, while still keeping file sizes smaller than PNG.
Because of its efficient compression and adaptability to various image types, WEBP is a great option for batch upscaling projects. It simplifies file management while maintaining impressive image quality, making it especially useful for managing large collections of images online. If you’re converting files from JPG or PNG, consider using WEBP to streamline your workflow without compromising on quality.
Conclusion
By following the steps and practices mentioned earlier, batch upscaling simplifies the process of improving image quality. Whether you're refining JPG files to correct artifacts, preserving transparency in PNGs, or optimizing WEBP files for a balance between quality and size, processing hundreds of images at once saves time and ensures consistent results across large collections.
With AI-driven enhancement and batch processing, you can transform entire catalogs in minutes while maintaining - or even boosting - image quality for all major formats.
Key Takeaways
Handling hundreds of images at once eliminates the need for tedious, image-by-image adjustments. Instead, ImageUpsize's AI algorithms take care of format-specific optimizations, so you don’t have to.
The 6x enlargement capability turns low-resolution images into sharp, high-quality assets. Batch processing removes repetitive manual tasks, giving you more time to focus on creative decisions rather than technical details.
Plus, with watermark-free results, your enhanced images are ready for commercial or personal use right away - no extra editing or licensing required. These features make it easier than ever to enhance your image collection efficiently and effectively.
Get Started with ImageUpsize Today
Ready to transform how you upscale images? ImageUpsize offers a seamless, watermark-free, and privacy-focused solution to streamline your workflow.
Using the platform is simple. Just organize your JPG, PNG, or WEBP files, upload them to ImageUpsize’s web-based interface, and let the AI do the rest. Within minutes, you can download your enhanced images.
Whether you're working on personal photos or managing hundreds of product images, ImageUpsize delivers professional-quality results with minimal effort. For detailed guidance, revisit the steps outlined above and start enhancing your images today.
FAQs
What makes AI-powered batch image upscaling better than traditional resizing methods?
AI-powered batch image upscaling takes image resizing to a whole new level by preserving, and even improving, image quality - something traditional methods often struggle with. Conventional resizing simply stretches existing pixels to enlarge an image, which can result in blurry or pixelated visuals, especially when scaling up by a large margin.
AI upscaling, on the other hand, uses machine learning to analyze the image and intelligently predict the details that are missing. This process generates new pixels, resulting in images that look sharper and more natural. Plus, it supports batch processing, meaning you can upscale multiple images at once. This not only saves time but also streamlines workflows for projects involving formats like JPG, PNG, and WEBP.
How can I prepare my images for the best results when batch upscaling?
To get the best results when batch upscaling, always start with high-quality, uncompressed images. This helps preserve as much detail as possible. Steer clear of resizing or compressing your images beforehand, as it can negatively affect their quality.
Choose the right file format for your needs - whether it's JPG, PNG, or WEBP. During the upscaling process, adjust settings like sharpening or noise reduction to refine the final output. It's also a good idea to test your upscaled images on various devices or platforms to ensure they look great wherever they're used.
Can I change an image's format while upscaling, and will it affect the quality?
Yes, you can change an image's format while upscaling, and if done properly, it won’t compromise the quality. Many modern tools make it easy to upscale and convert formats like JPG, PNG, and WEBP in one go, enhancing resolution while keeping the image sharp.
That said, it’s good to know how different formats handle compression. For instance, JPG uses compression that may slightly reduce detail, whereas PNG and WEBP are better at preserving clarity. The final quality largely depends on the format you select and the upscaling technology used. Advanced AI-powered tools are especially effective at reducing quality loss and often enhance the overall image appearance.